
How to Build a Stronger Throwing Arm This Offseason
Building a stronger throwing arm starts with more than extra throws. The offseason gives players time to recover, develop strength and improve the movements that support throwing.
A useful plan has three parts: rest from throwing, build whole-body strength, and gradually return to throwing. Here’s what that can look like for young baseball players.
1. Give the Throwing Arm a Break
A throwing break means pausing catch, pitching lessons, bullpens, long toss and throwing drills—including weighted balls and Mini-Chutes.
For adolescent baseball pitchers, the American Sports Medicine Institute recommends at least 2–3 months annually without overhead throwing, preferably four, and at least four months without competitive pitching.
Players can stay active with conditioning, strength work and activities that don’t involve throwing. Pain-free hitting and fielding footwork without throws can also fit, unless medical restrictions say otherwise.
Plan this break first, leaving time to rebuild throwing before the season.
2. Build Strength That Supports Throwing
The legs and hips help generate force, the trunk transfers it, and the upper body contributes to controlling and delivering the throw. Training should address all of these areas.
The American Academy of Pediatrics emphasizes qualified supervision, proper technique and progression based on experience—not simply age.
The examples below are a menu to discuss with a qualified youth strength coach, rather than a requirement to perform every exercise.
Ages 6–8: Make Movement Fun
Use short games and simple bodyweight movements:
-
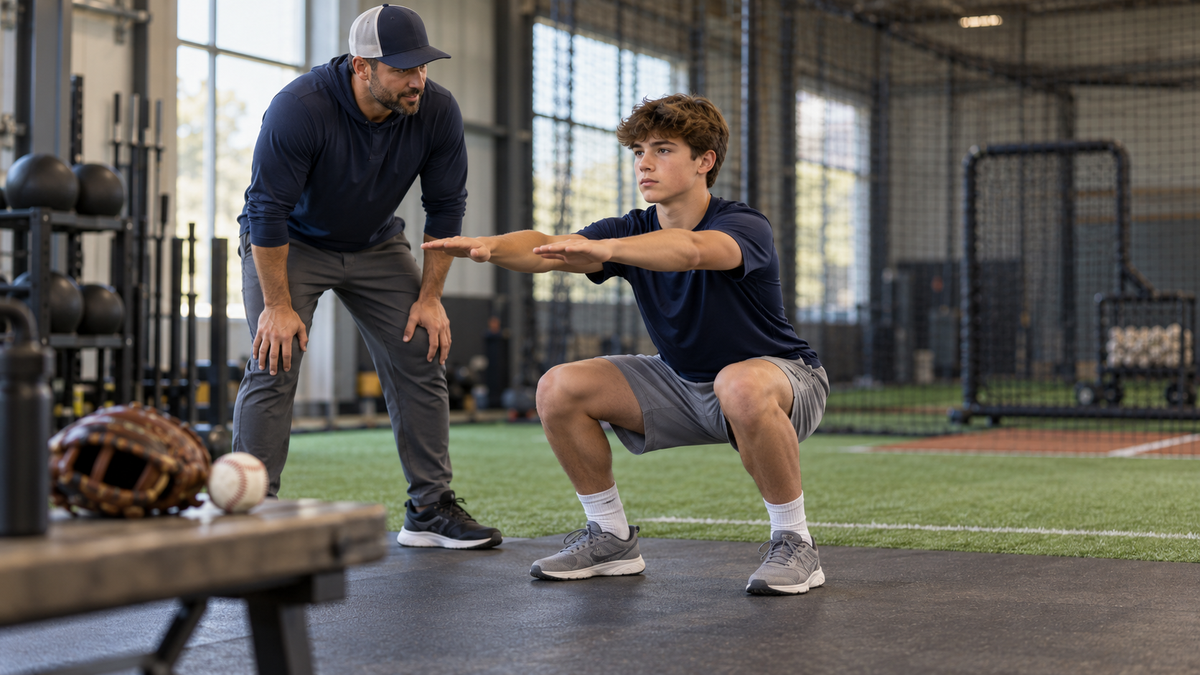
Squat to a bench and stand: practice leg strength and balance.
-
Bear crawls: develop coordination and support the body through the shoulders and trunk.
-
Hop and hold the landing: practice balance and controlled landings.
-
Wall push-ups: introduce upper-body pushing.
Keep activities brief and playful. An obstacle course can be more engaging than counting sets.
Ages 9–12: Learn a Simple Strength Routine
Introduce controlled exercises with bodyweight or light resistance:
-
Step-ups or bodyweight squats: develop the legs and hips.
-
Incline push-ups against a sturdy bench: train upper-body pushing.
-
Light resistance-band rows: train upper-back pulling.
-
Dead bugs: practice trunk control while moving opposite arms and legs.
Learn each movement before adding resistance. A secure band anchor and adult supervision matter.
Ages 13–15: Add Resistance as Technique Improves
Players who have mastered the basics can progress to:
-
Goblet squats: hold a light weight at the chest while squatting.
-
Split squats: develop strength with one leg working in front.
-
Supported dumbbell rows: strengthen the upper back.
-
Side planks: develop trunk stability.
A beginner at 15 should still start with beginner exercises. Getting older does not automatically make heavier weights appropriate.
Ages 16–18: Follow a Progressive Program
Experienced players can build on those movements with coached exercises such as:
-
Squats and split squats: lower-body strength.
-
Romanian deadlifts: hip-hinge strength through the hips and back of the legs.
-
Rows and push-ups: balanced upper-body work.
-
Pallof presses: hold the trunk steady while pressing a resistance band forward.
A coach can also teach light shoulder-rotation exercises where appropriate. These should be controlled strength work, not fast throwing motions against a band.
How Much Strength Work?
For healthy beginners ready for structured exercise, a practical starting point is two sessions on nonconsecutive days, with a dynamic warm-up followed by four or five simple exercises.
Begin with one or two sets of 8–12 controlled repetitions for movements such as squats, rows and push-ups. Use brief, comfortable holds for planks. Rest enough to repeat good technique, and finish before form breaks down.
These are starting examples within NSCA youth resistance-training guidance. Adjust them to the athlete. Increase resistance only when the current work is consistently controlled and comfortable.
3. Rebuild Throwing Gradually
After the planned break, restart with a regulation ball and easy catch at a distance the player can reach comfortably.
Use these checkpoints:
-
Start with control: aim for smooth, accurate throws.
-
Repeat before progressing: make sure the workload is comfortable during the session and afterward.
-
Change one demand at a time: avoid increasing distance, throw count and effort together.
-
Build toward baseball demands: longer throws, higher effort and bullpens come later in a coordinated plan.
Record throwing days, approximate throw counts and how the arm feels. Include lessons and team practices.
Stop for pain or fatigue that changes the throwing motion. Shoulder or elbow pain warrants a sports-medicine evaluation. Baseball pitchers should also follow Pitch Smart’s age-specific workload and rest guidance.
Strength gains support development, but better throwing also takes skill practice. No exercise or tool guarantees a velocity increase.
Put the Plan Into Practice
Choose a throwing-break period, establish an appropriate strength routine, and set a gradual return-to-throwing plan before spring approaches.
Check back regularly at Beyond the Dugout for guides to resistance bands, Mini-Chutes, SpinGrip and weighted balls. We’ll explain their purposes, who they may suit and where they can fit into throwing development.
Explore our throwing training tools when you’re ready to choose equipment for a specific goal.
This guide focuses on healthy youth baseball players and overhand throwing. Softball windmill pitching and return from injury require different planning.